How to Use the Photoshop Magic Wand Tool

How to Use the Photoshop Magic Wand Tool?

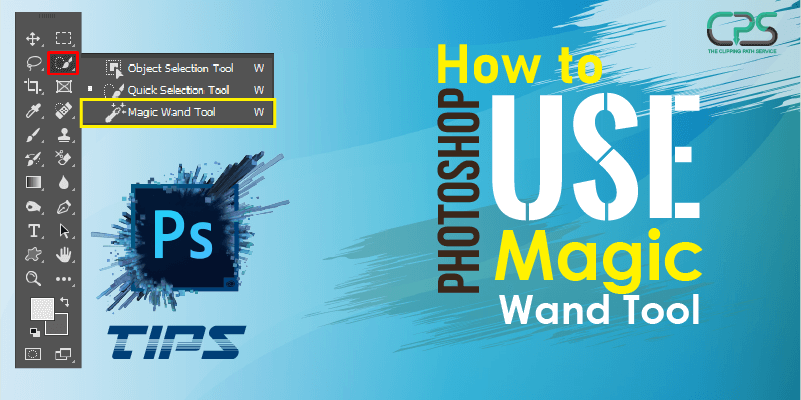
Do you know how to use the photoshop magic wand tool? Well, if you don’t, then today you will. When you are learning adobe photoshop, it is important to know about all the tools it offers in image editing. 

Photoshop magic wand tool is one of those advanced yet easy-to-use editing tools that make the selection process in photoshop easier than ever. 

In this photoshop guide, we will talk about how the magic wand tool works.

The photoshop magic wand tool is one of the most used selection tools because of the simplicity it brings to the photo editing table. Like the other advanced selection tool in photoshop that might require professional skills to learn, the magic wand tool is the opposite.  It works automatically, and all you need to do is select the tool and click on the area you want to select. The magic wand tool will fix that area automatically with the help of Photoshop’s latest edge detection algorithm.

Magic Wand Tool Options

Magic wand tools have some exciting options that enhance the experience of using it. Because of these options, you get complete control over using the magic wand tool.

Tolerance Level

The tolerance option controls the luminance level of the image. As the magic wand tool works best with colors, tolerance level increases or decreases the value of the color you choose. So for the selection process using the magic wand tool, you will have to set the tolerance level according to the color of the area you want to select. 

By default, the value is set to 32. So if you increase the value, the luminance level of the color will increase, and if you decrease the value, the luminance will decrease. For example, if you choose the tolerance level to 50, the tool will select areas with 50 shades higher and darker.

Contiguous

The photoshop magic wand tool selects areas based on the colors, and it is the pixel that decides whether the color we have selected is next to one another or not. As soon as there is a pixel with different color photoshop stops the selection in that area. So before working with the tool, check if the option is enabled or not.

Anti-Alias

Anti-aliasing in photoshop smoothes the edges of the area we select from the image. We can smooth edges in photoshop separately, but the magic wand tool makes the job easy for us with this option. You will find this option on other selection tools as well. Smooth edges help to blend the area that we select and cut out from the background.

How to Use the Magic Wand Tool and Remove Background

Well, by now, we know the wand tool lets us select any elements of our image with just one click. And we also know that Photoshop’s automatic edge detection algorithm for this tool works on the base of colors. This means the more the color is differentiable in a photo, and the more accurate the magic wand tool will work. We can use this tool to select and remove the image background of our product photo as most of the product photos are shot on a solid color backdrop.

So in this segment, we will learn how to use the magic wand tool and remove any image background.

Step 1: Open The Image File

We will start with opening the image file we want to edit in photoshop. Drag and drop the image on the artboard of photoshop to insert it. Or you can insert your photo from the menu as well.

Image of opening file in photoshop

Step 2: Create Duplicate Layer

Before starting our editing, we should create a duplicate from our original layer if anything goes wrong. You can create a duplicate layer using two ways. From the bottom of the layer panel, you will see the Duplicate layer option to make the same layer. Or you can go and click on the Layer menu, then choose the Duplicate Layer option.

Image of creating a duplicate layer

Step 3: Select The Edges Using The Magic Wand Tool

Now click on the newly created duplicate layer, and from the Toolbar, select the magic wand tool. Click on the magic wand tool icon to select it, and click on the area you want to select. But before adjust the Tolerance value and make sure the boxes of Contagious and Anti-alias options are checked in. 

After ensuring all of these options, as soon as you click on the area you want to select, Photoshop automatically detects the area and creates a dotted path around the edges. We will click on the subject as we are editing product photos, and our product will get selected.

Images of selecting the wand tool and adjusting the options
Images of selecting the subject

Step 4: Invert The Selection

As we want to remove the background from our product photo, we need to select the background, but we have selected the subject in the previous step. So in this step, we will invert our selection to the background. Invert the selection in photoshop, press ctrl+Shift+I, and the selection will invert from the product to the background.

Image of inverted selection to the background

Step 5: Erase The Background

Now that we have selected the background, we will erase it from the image. To erase the background, press the Delete button, and a window will pop up. Select the foreground color and click OK to remove the background for good.

Step 6: Save The File

Removing the background of the product photo using the magic wand tool is done. Now save the file and use it anywhere you want.

Save The File

What Is the Magic Wand Tool Used For?

Product photos always require a solid color background or white background if you want to list them on any eCommerce platform. To get flawless solid white background for your product photo, you must erase the solid background and place a new one.

For product photo background removal, we can use the magic wand tool. It’s easy to use and gives better results but takes little effort to do. Marketplaces like Amazon and eBay have some product image requirements that, as a retailer, you must follow strictly. The magic wand tool can be a go-to background removing tool for you because of its straightforward usability.

The Bottom Line

While you learn how to use the photoshop magic wand tool, it is important that you also understand where and in which photos you can use it. As the magic wand tool is an automatic selection and works best on solid colors, the tool will not work on gradient-colored images.

Product photos are mostly on a solid color background, and so this tool is useful for commercial photographers and online retailers. Using this tool on your product photo, you can select and erase the background with no time. Later you can use the photos in different environments.

Emma Rivett

Emma Rivett

Author

“Emma Rivett is a brand photographer and copywriter who has a strong tendency to prepare, change and teach. Her photographic works were published in Uppercase, Travel + Leisure, Gayot Guide, Paula Deen Cooking, Design Guide, the NHOME Magazine, Urban Home, etc. Helping creative businesspeople create an online brand and PS”
No Comments

Leave a Reply

Quick Response

Email:
cs@theclippingpathservice.com

Hotline Support:
Mobile:       +1 (718) 717-2362