How To Photograph Clothing Without A Model


Edit Your Photos
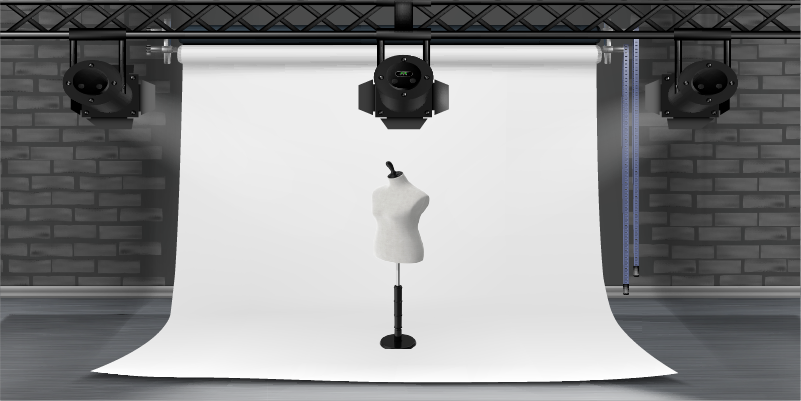
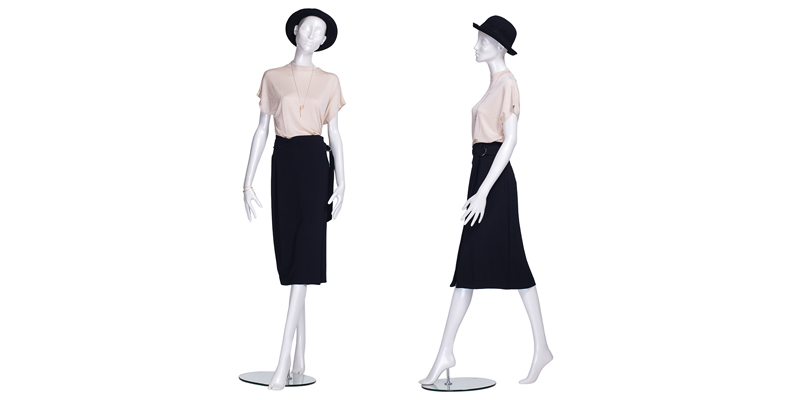
Always Use Mannequin If You Don’t Have Any Model
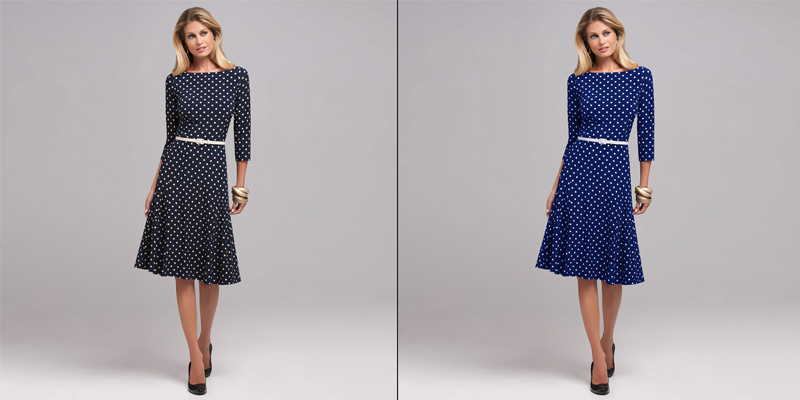
Use Ghost Mannequin Effect


Bordie Capron
Author
“Bordie Capron is a Sr. Content Maker who is working in The Clipping Path Service an US-based image and video post-production company for over 7+ years. She completed her degree in graphic designing and worked as a graphic designing expert for several years. She always loved writing”

One Comment
John Barrett
Nice guide and tips that photographer can refer through. Thanks for it.