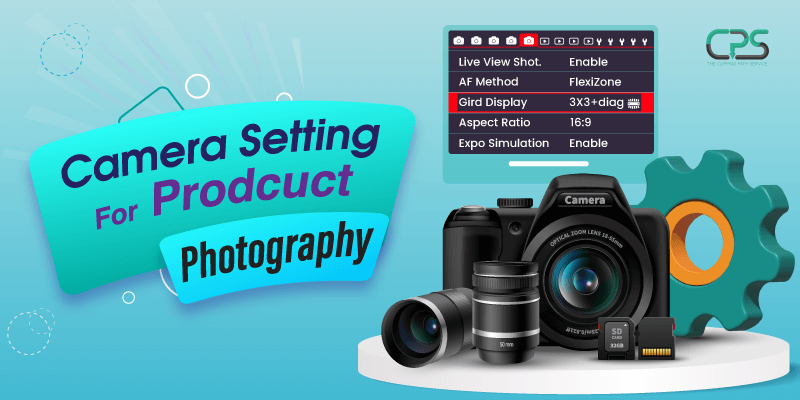
The following are some of the Camera Settings for Product Photography. You’ll be able to take stunning images of your items in no time at all if you follow the instructions below.
1. Choose the Right Lens
The quality of your product photos can be greatly improved by upgrading your lens. The ideal lens will have certain qualities for a DSLR or a mirrorless camera. A macro lens is a way to go if you want to get up close and personal with your shots. Focusing is less of a challenge than with bigger lenses because of the shallow depth of field produced by these sorts of lenses.
Moreover, wide-angle lenses let you capture your subjects from various perspectives and distances. When selecting a lens, consider the item’s dimensions and the available shooting area.
2. Use Camera Manual Mode
One of the quickest ways to get better at photography is to switch to manual mode. You have complete creative freedom when shooting in manual mode. With some skill and practice, you can achieve stunning results.
Today’s cameras are quite sophisticated, but if you don’t switch to manual, they’ll use their default, less-than-ideal settings (such as flash, shutter speed, aperture, etc.).
3. Use Tripods
A tripod is required to get sharp, steady shots when photographing objects inside or outside. You can have balance issues if you don’t have a good tripod. Use a stable tripod and position it at least 4 feet away from your subject for the greatest results.
Next, before you snap any photos, ensure everything is centered in the frame and that there is some extra space around the objects. This eliminates all potential distractions and focuses squarely on the thing itself.
4. Set Your Camera’s ISO
Your camera’s capacity to capture fine details in low-light conditions is directly related to the ISO (or sensitivity) setting you use. Taking photos with a lower ISO level requires more light while using a higher ISO setting requires less. Shooting at the lowest ISO possible without sacrificing too much detail is recommended to avoid noise in your product photographs.
5. Aperture
The aperture is the opening in your camera that allows light to enter. In general, the amount of light entering a camera is proportional to the size of the aperture, with more light entering at larger openings.
Additionally, it gives you complete concentration on your product. You obtain a suitable image devoid of any artifacts as a result.
6. Adjust Your Shutter Speed
This is the overall interval between each photo that the camera takes. Faster shutter speeds often result in sharper photographs, but longer exposures can be used to blur the background if that is what is needed. This can occasionally be advantageous depending on the overall mood of the shot.
However, your camera will nearly always be mounted on a tripod to capture a motionless item for product photography. This means you can use a short shutter speed to capture incredibly clear shots because you don’t have to worry as much about motion blur or camera shaking (from handholding).
Fractions of a second are used to describe shutter speeds. Use a low setting, such as 1/13, while utilizing a tripod in a studio to let more light enter the camera. By tweaking the shutter speed until it equals zero using your light meter, you can find your precise setting.
7. Shoot in Raw
When processing a raw file, the image is scaled to its maximum potential size based on the resolution of your camera’s sensor.
If you want the maximum leeway in post-production, shooting in raw is your best bet. The image can be edited without losing any information, and a wider range of colors is available, both of which are essential for final prints.
8. White Balance
Setting the white balance will ensure that your product images have accurate color and white balance. This will ensure that the whites in your images retain their natural tone and that the colors accurately represent what you saw. Whites in product images taken outside, for instance, tend to have a bluish cast due to the presence of blue light.
A camera’s “Auto” white balance setting is usually enough for most uses. After evaluating the scene, the camera decides the color temperature to use.
However, your camera may become confused if there are no white or very close to white hues in the image or only one color in the scene. A change in white balance will be required in such instances.
9. Automatic Full Focus
If you’re not fine with somewhat fuzzy images, rely on something other than manual focus. When photographing products, everything must be spotless and meticulous. The camera will lock onto the subject using automatic focus, resulting in sharp photos.
10. Zoom In
Most cameras have both an optical and a digital zoom. Don’t use digital zoom since it only crops the image to make it look bigger, which degrades the quality.
Optical zoom lets you get as close as possible without switching to digital. To correct for wide-angle lens-induced distortion, use a longer zoom. This is a prevalent problem with wide-angle lenses, such as those used in smartphones.
11. Avoid using flash
Using a steady light source rather than the flash on a camera while working in low-light settings is preferable. When using a flash, the thing you’re photographing may be unevenly lighted, which might cause exposure issues. The use of off-camera flash equipment, as opposed to the on-camera flash, can greatly improve the quality of your shots.


No Comments