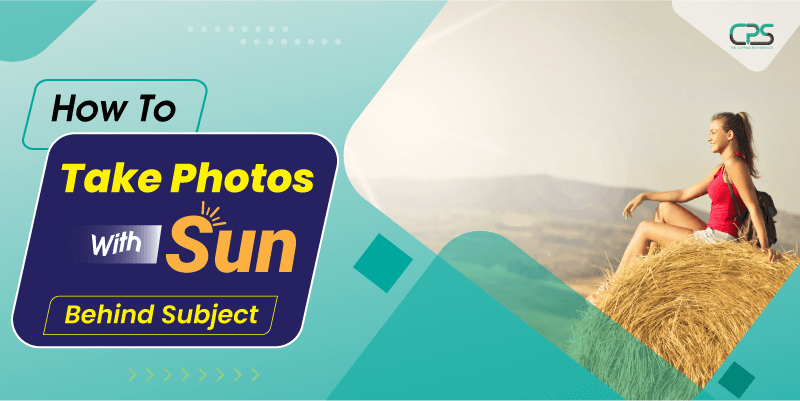
How To Take Photos With Sun Behind Subject
1. Utilize Spot Metering
You could create camera settings and utilize the spot metering technique to create enough lighting. In spot metering, you manually select the subject on the camera. Afterward, the camera starts creating balance regardless of the lighting around the subject. It’s helpful to avoid any sort of overexposure.
2. Darker Background
When photographing under the sun, you try to use a darker background. For example, you could find a greenery scene when shooting outdoors. As a result, it would help you highlight the subject with the sun’s rays. The contrast between your subject and background creates an amazing composition.
3. Customize The Exposure
Customize the exposure of your camera when shooting under the sun. Whether using a DSLR or smartphone, you will find out the exposure settings. You should point out your subject and adjust the exposure accordingly. Or you could use modes like Automatic or others to achieve it faster.
4. Photo Merging Technique
Another easiest option to get great outdoor photos is to blend several images into one. Like, you could capture two different photos with different lighting exposure. Afterward, blend them into one with image editing software like Photoshop. It would give you great results.
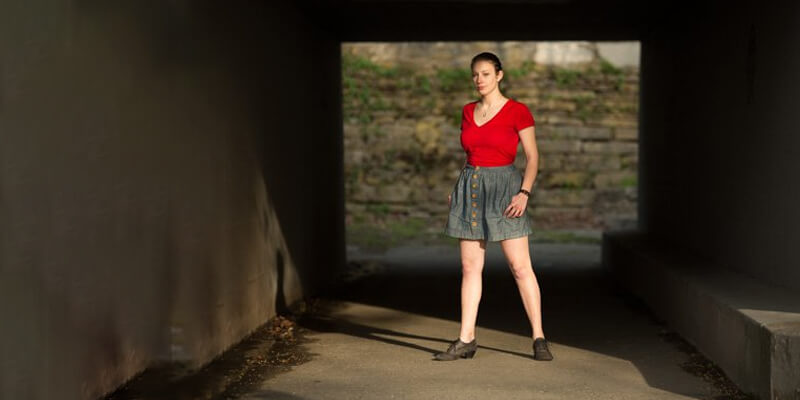
5. Create Silhouette

A trendy effect you get under the sun is a silhouette. Hence, you could create a silhouette which looks good. Another thing to notice is that in silhouette, your subject remains darker. Therefore, only the shape of your subject would be visible on the image.
6. Fix Out White Balance
Don’t forget to tweak your camera’s white balance to get perfect exposure. Plus, fixing up the default white balance helps you to capture the true color of the scene. You could either go for automatic settings or customize it in real-time to get the best possible results.
7. Go for Lens Hood
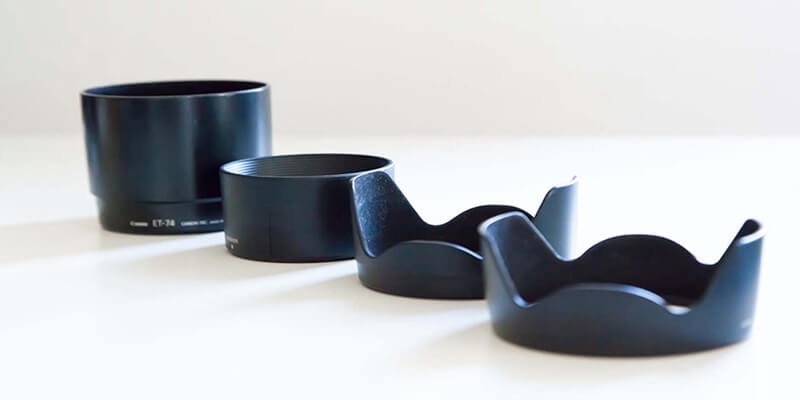
Lens hoods are a must when you are shooting under the sun. Why? Because your lens gets total protection from the direct sunlight. As a result, your image comes out as composed and balanced. In addition, you get to avoid high exposure and capture the photo while your subject is the focus.
8. Use Reflector
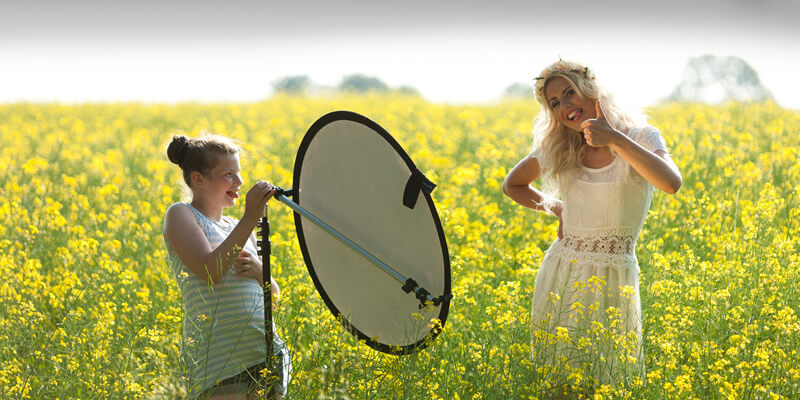
Another cool way to make your model shine even in sunlight is to use a reflector. A reflector can be a whiteboard or cloth which reflects the sunlight. For example, you could direct the light to your model to improve the lighting. As a result, your subject stays in focus and well lit even under a bright sky.
9. Try To Utilize Backlighting
Use backlighting when you want to create a unique lighting composition with the sunlighting. Backlighting is the ones you set up right behind your subject. It creates an ambient that creates amazing results when combined with sunset times. Golden hours could be a great time to use it.
10. Capture The Glow All Around The Subject
When capturing photos, you could try to create a glow around the subject. The golden lines around your subject appear when you angle the sun rays at certain angles. The best part of the glow around your subject is it creates beautiful contrast from the background.
11. Don’t Shoot At Direct Sun.
One of the things you should avoid is not shooting at the direct sun. Because it creates unnecessary exposure, which burns out your photos, it’s not good for your photo as your subject would be a lot less visible. As a result, you need to spend more time editing the photo.
12. Post-Production
After you shoot all of the photos outside, it’s time to edit your portrait images. Again, use Photoshop or any other software to edit photos. But, if you want a premium look, try hiring a freelancer or agency instead. It would help you to save time and hassle at the same time.

Bordie Capron
Author
“Bordie Capron is a Sr. Content Maker who is working in The Clipping Path Service an US-based image and video post-production company for over 7+ years. She completed her degree in graphic designing and worked as a graphic designing expert for several years. She always loved writing”

No Comments