Flat Lay Clothing Photography Setup (Tips & Guide)
One must set up the environment before taking pictures of clothes, whether it be by placing the cloth on a smooth surface, using different types of lighting, or using a tripod to hold and position the camera at the proper height.
A picture will tell the story once a well-planned setup has been made. It will showcase the details of a clothing item and let people understand the value of your brand.
#1 Where to Place the Fabric
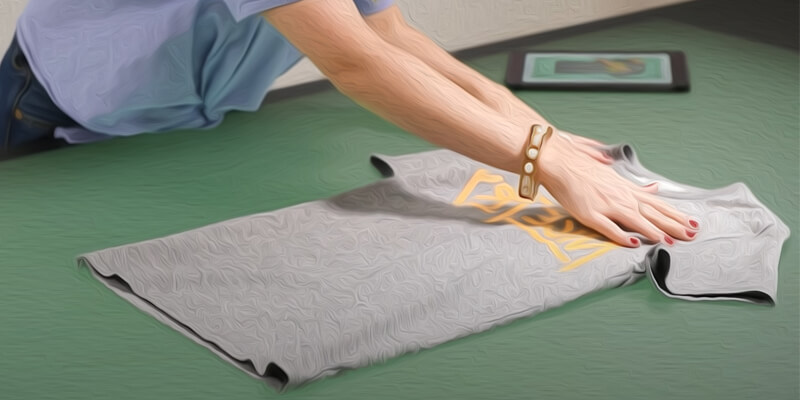
As the name suggests: you need a balanced and uncluttered surface to place the fabric. It can be a tabletop or simply the surface of your house floor.
If you have been doing professional photography for a while, you might have a table with a backlit, which is more helpful since it saves you from repeatedly bending over to arrange the clothing item. On the other hand, you can simply place the fabric on the floor.
Once you have selected the proper surface, make sure the surface has a background that is suitable for the products, or you might have to create a backdrop.
In most cases, the preferred surface color is white. A white background reveals the texture and color of the clothing item more clearly and is preferred over another background.
#2 What Else Than White Background
If the color of the surface is already white, it may not be necessary to create a backdrop. On the other hand, you can create a backdrop, which can be something other than white, like a color sheet or clean board that matches the fabric’s color. Here are some ideas for the backdrop.
- Using Colored Paper
Using colored paper can be the easiest and cheapest way to create a background for the picture. Black paper is probably the most muted and least striking, and is therefore preferred. You can, however, try different options.
- Fabrics
Like paper, fabric like velvet can be used as a background for the perfect photo. Fabric adds more aesthetics to the photograph.
- Wood
Washed-out barn doors or wooden boards can be used as a background too. They produce a natural vibe and soft feel in the photograph.
#3 Add accessories and Use Creativity to Organize Clothes
Adding accessories and arranging the fabric you are going to shoot is another crucial step in this type of photography to increase the photographer’s aesthetic. Once the clothing item is selected and the background is set, you need to organize the item and add accessories.
Although using props or adding accessories is not mandatory, arranging clothing items is a common practice that helps you get the desired picture. To get the best arrangement, try to spread the item nicely and in a balanced way.
If you shoot multiple items, place the largest object in the frame’s center and put smaller items around the large items. Try different combinations until you feel satisfied.
At this stage of photography, you can use props or add accessories like jewelry, shoes, or bags to increase the depth and further meaning of the photograph.
Once everything is set, make yourself ready for the shoot. Also, photos of clothing and apparel that you set up with props can be taken from different angles and heights. In this style of photography, it is important to take the picture from a bird’s eye view, which means you must capture the clothing item from straight above.
#4 Lighting
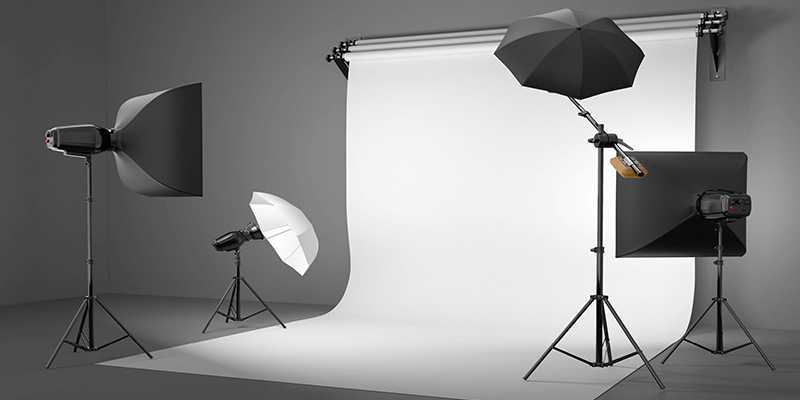
Lighting plays a crucial role in improving the quality of the picture. When it comes to lighting, you have two options. One can use either natural light or artificial light.
Natural light is usually preferred over artificial light. Choose a flat surface where natural light is available but avoid direct sunlight, which is usually a bit strong in that case. Instead, use a diffuser.
On the other hand, if natural light is not available, use artificial light. Softboxes or umbrellas can be good sources of artificial light. Once you have ensured the proper light source, set the light by trying different lighting angles.
#5 Camera, Tripod, and Lense
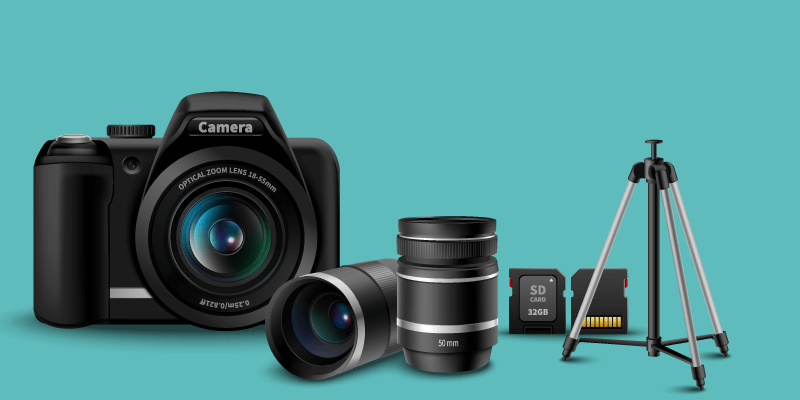
When you have to choose a camera, you need to consider a few factors. Ensure the camera comes with a low ISO that provides the clarity of the picture, a fast shutter speed for sharper photos, and a higher f-stop.
Similarly, there are no strict guidelines for a lens, but a lens with a wide angle is appropriate. Finally, when you shoot, using a tripod is one option, while manual shooting is also a priority for many photographers.
If photography is your new profession, your hand is not as trained as a professional photographer’s. Thus, for immature people, while shooting flat lay clothing, it might be a bit challenging to take photos using the hand-held camera from the ladder.
Therefore, using a tripod can be a great help. It holds the camera in place. Also, the movable center column can be used to get the perfect shot.
#6 Editing the photograph
Hopefully, you captured some beautiful photos of clothing items you want to sell. Once everything is done and you have successfully taken several photographs of the fabrics, you may adjust the brightness or change the photographer’s color.
The editing of the photograph allows photographers to create a more polished and professional image. If you are not confident in editing, you can get help from an expert editing service provider.

Bordie Capron
Author
“Bordie Capron is a Sr. Content Maker who is working in The Clipping Path Service an US-based image and video post-production company for over 7+ years. She completed her degree in graphic designing and worked as a graphic designing expert for several years. She always loved writing”

One Comment
Eli Richardson
Recently, my cousin mentioned that he’s almost done building his e-commerce webpage, but he hasn’t taken pictures of the clothing pieces. It’s interesting to know that you’ll need to choose the right camera and tripod to take quality photos, so I’ll talk to my cousin and suggest he hires a professional for the job. Thanks for the advice on clothing photography and how to take professional shots.